+ Reply to Thread
Page 1 of 3 1 2 3 LastLast
Results 1 to 10 of 44

Thread: DIY: EL gauges / dials

Hybrid View

  1. #1
    MagTech's Avatar
    Join Date
    Dec 2006
    Location
    Australia's Capital Territory
    Posts
    518

    Default DIY: EL gauges / dials

    Title : DIY EL Gauges/ Dials Installation

    What: This modification will give you a white back ground dials during daytime and a reverse EL lights of blue and red at night time. The speedometer is in MPH with KPH underneath.

    NOTE: These gauges may not provide you an accurate readings, be aware. Also, it is always wise to consult your insurance company and your state guidelines before making this modification.
    Disclaimer: I will not take any responsibility for any damage cause by this modification.

    You'll need: Set of EL Gauges/Dials, Philips and flat head screw driver, wire striper/cutter, vinyl tape, power switch (optional)
    Difficulty: Difficulty level = 1.5 (scale 1=change oil, 10=engine change over)
    ETA: 1.5 to 2 hours
    Instructions:

    1. Remove the steering cover
    2. Unscrew the plastic gauge bezel and remove the rheostat plug connected at the back.
    3. Remove the bezel.
    Taking out the gauge
    4 Remove the 6 screws located around the gauge cluster.
    5. Slowly pull towards you the cluster until it unplugs the back connection.
    6. Grab the connection at the left side of the cluster and unplug.
    7. Take out the cluster from your car and place it on top of table.
    Disassemble the cluster
    8. Remove the clear plastic cover by pressing/pushing the locks
    9. Do the same with the black face cover.
    Attaching new EL face plate
    10. Start by inserting the tip of the speedo needle to the face plate, then slowly move it until it fits (no need to remove the original one).
    11. Do the same to tacho, fuel and oil gauges.
    12. For the rest, remove the original plate and replace it with the new ones.
    13. Return the covers (NOTE:pass all the wires at the top of the gauge cluster).
    Wiring the EL
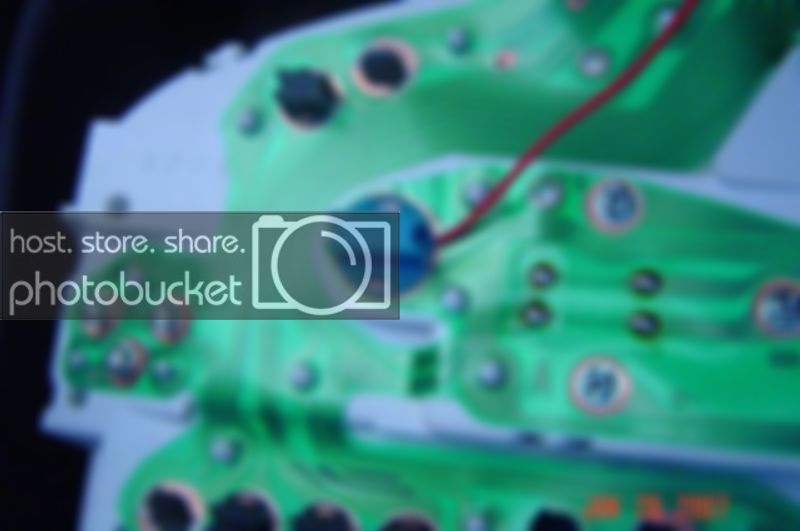
    14. Attached all the connections to the inverter.
    15. Flip over the cluster and look for (+) connection
    16. Connect the (+) wire. ( I placed mine with one of the bulb, remove the bulb and insert between the terminal and plastic cap)


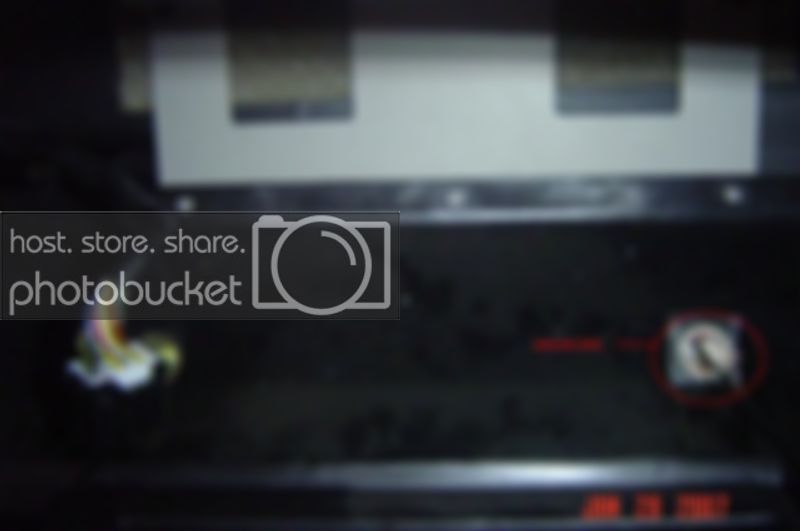
    17. Go back in you car, connect the (-) wire. (I connected mine to one of the 2 bolts
    located inside where I pulled out the cluster).

    18. Test if working, yes return back everything, if not check the switch or you might have a wrong connection.


    Quote Originally Posted by s_tim_ulate
    And with the EL guage lifespan, its not really worth worrying about would be thousands of hours surely, just relay them into any point that is triggered by the parkers and you'll be fine. Having to flick extra switches is tacky imho (less is more). Every time your lights are on your dials should be on

    The radio has a light input u can splice into that. otherwise theres heaps around the place.

    Peace

    Tim

    This may sound big and complicated work but it's not .

    Cheers

  2. #2
    What will be next? M4DDOG's Avatar
    Join Date
    Jul 2004
    Location
    Victoria
    Posts
    9,164

    Default

    Looking good mate .
    Was it hard to install? reckon you could whip up some quick instructions? no one who's done it has done any instructions yet .
    Shame about the poor qualit picture, but can't wait until mine are in now .
    Please use the report a post feature, instead of replying and creating more work for the admin team. Thanks!

  3. #3
    s_tim_ulate
    Guest

    Default

    just relay it into the lights so u dont need a switch...

  4. #4
    MagTech's Avatar
    Join Date
    Dec 2006
    Location
    Australia's Capital Territory
    Posts
    518

    Default

    Quote Originally Posted by s_tim_ulate
    just relay it into the lights so u don't need a switch...
    I thought about that actually, but since "EL" has a limited life, I decided to install the switch. Maybe that's the reason why there's a switch included in the kit. Sometimes you don't really need to turn it on, like when raining during daytime, etc. But you got a good point there.

  5. #5
    Banned BillionaireBoysClub's Avatar
    Join Date
    Oct 2006
    Location
    Western Australia
    Posts
    145

    Default

    will be doing mine 2moro with pics if its cool enough, would have done it today but its about 40 in perth so im drinking jacks and coke in the pool later.

    I think they will look better just using the circular bits, the other bits look tacky, thats what im doing anyway

    meh

    ps: what flavour was that free little bag of rice with the gauges? they were nice

  6. #6
    Gcquest's Avatar
    Join Date
    Nov 2006
    Location
    Queensland
    Posts
    129

    Default

    Man I want mine bad. Cannot wait to see how it will look with my Aluminium Bezel.

    Cheers!

  7. #7
    Nexus's Avatar
    Join Date
    Sep 2005
    Location
    Western Australia
    Posts
    1,338

    Default

    Quote Originally Posted by s_tim_ulate
    just relay it into the lights so u dont need a switch...
    I like to know how you do it this way. do you connect up to the parkers?
    I did not like the switch method.
    Surprise that this is only a 4 cyl?

  8. #8

    Default

    Uhh find the parkers positive wire and wire that into the EL's power?

    I like the switch idea because like he said, EL has a limited lifespan. This one's a thinker.

    Eclipse : MB Quart : Stinger : Digital Designs : Reference : Canon : Nikon : Lowepro : Giottos

    Quote Originally Posted by Righty
    Righty says:
    my erectile disfunction pills could take better photo's
    AMC //// Magna-Was-Too-Slow-So-Got-Something-Turbo Division

  9. #9
    Nexus's Avatar
    Join Date
    Sep 2005
    Location
    Western Australia
    Posts
    1,338

    Default

    Quote Originally Posted by Nick
    Uhh find the parkers positive wire and wire that into the EL's power?

    I like the switch idea because like he said, EL has a limited lifespan. This one's a thinker.
    Cool, I already had that set up from my foglights.

    Whats the life of the EL dials?
    Surprise that this is only a 4 cyl?

  10. #10
    s_tim_ulate
    Guest

    Default

    Added to the DIY links. Magtech if you get a chance can you edit your first post and write it up in the format. Otherwise no nevermind, I'll do it when I get a chance. (Or I'll forget about it whatever comes first.)

    And with the EL guage lifespan, its not really worth worrying about would be thousands of hours surely, just relay them into any point that is triggered by the parkers and you'll be fine. Having to flick extra switches is tacky imho (less is more). Every time your lights are on your dials should be on

    The radio has a light input u can splice into that. otherwise theres heaps around the place.

    Peace

    Tim

+ Reply to Thread

Thread Information

Users Browsing this Thread

There are currently 1 users browsing this thread. (0 members and 1 guests)


Posting Permissions

  • You may not post new threads
  • You may not post replies
  • You may not post attachments
  • You may not edit your posts