


This is how to adjust your handbrake from inside the vehicle. Done with a 99 TH Sports Tiptronic.
You can do this a second way if you do not have enough room.
You will need a light/torch, and pliers or a (10mm?) spanner. If you need to take off the center console you will also need a Phillips head screwdriver.
Step 1
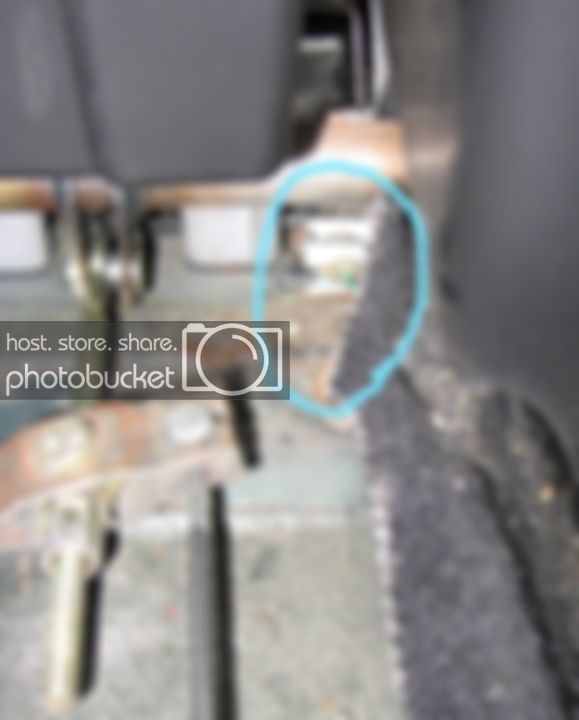
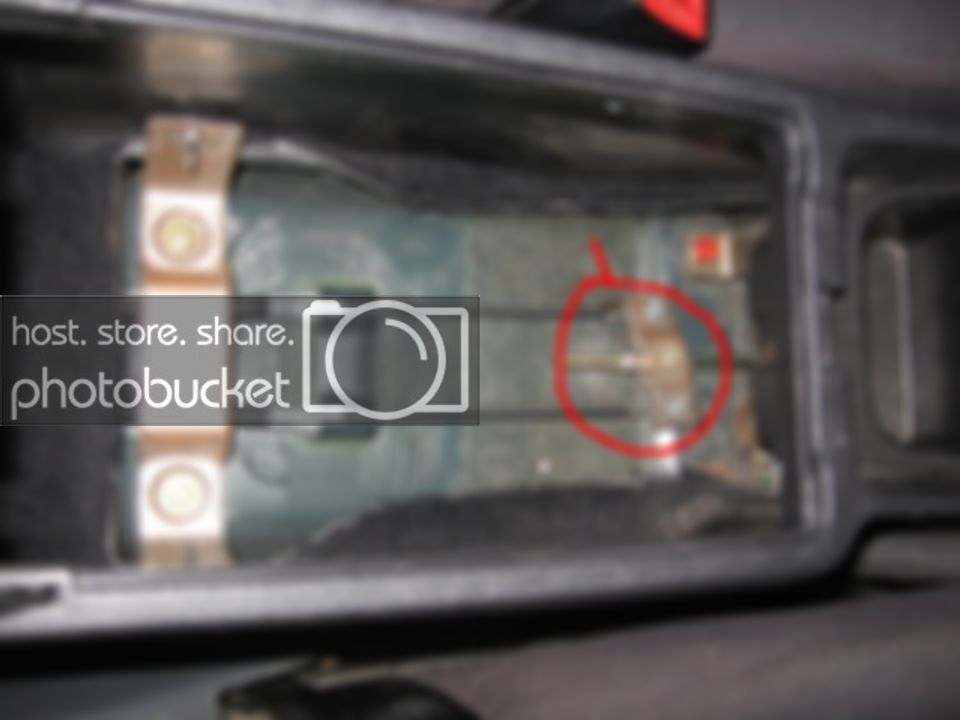
Remove interior box from center console. Means opening your lid of your center console and pulling up the plastic box which sits in it. Here is a picture of what you should see.
I have circled the object in which the little bolt sits in.
You can see one cable coming from the handbrake barrel, which is connected to a metal bracket on a thread, which is then connected to 2 cables which disappear into the body. These 2 cables are connected to the mini-drum brakes on the rear axle/wheels. This is because the handbrake uses these and not your foot pedals caliper brakes.
If you have enough room from here to get a spanner or pliers onto that nut in the circled part, then continue to step 3
Otherwise
Step 2
Removing the center console for more room.
For this there is firstly the plastic top section around your gear shifter (Manual and Auto), which IS NOT the chrome/black gear surrounding with the P N R D. It is the bit around that. This unclips from under your ashtray, etc and pulls up and back.
Under that is 2 screws up the front (near the ashtray/cup holders), and 2 further back near that change holder or W/E it is. Undo these.
The final 2 screws are at the sides of the center console, down the bottom, near where rear passengers feet would be. Undo these.
When unclipping these parts some of them may be clipped in with white clip-screws on the insides of the section shown here.
These can be seen by shining a torch or light inside the hole and forward. They must be pulled outward, to unclip the section you wish to lift up.
Step 3
Adjusting the handbrake and its cable tension.
Put your car on a level surface and leave in PARK or in gear. If you wish leave your foot on the pedal brake. Release the handbrake.
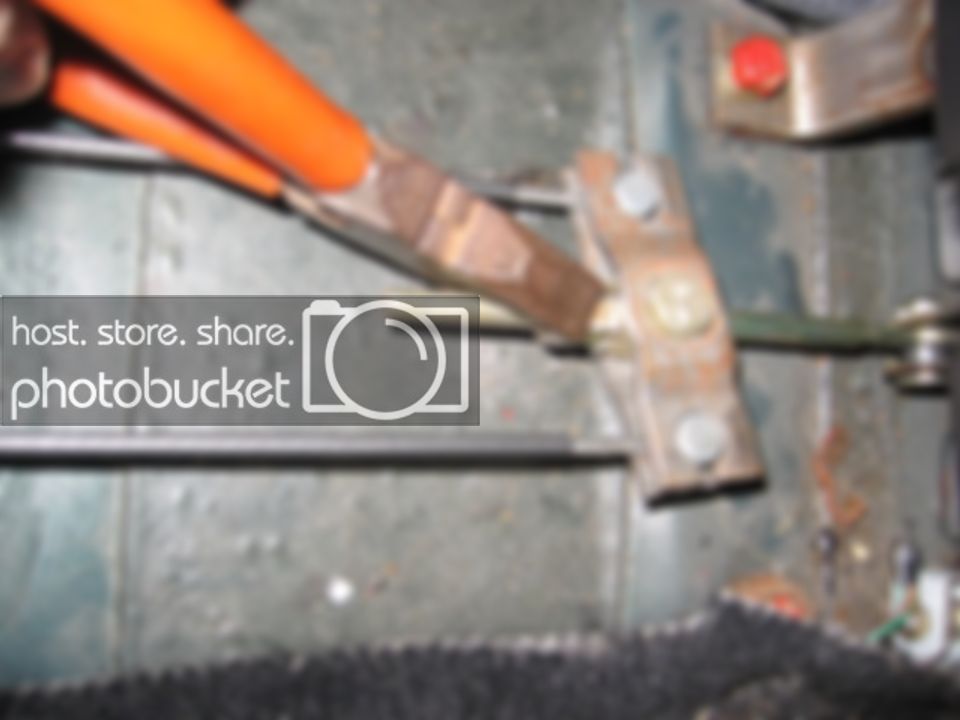
You now need to get a spanner or pliers onto the bolt shown. It has 2 little flat pieces on either side to stop it from undoing. Turn it clockwise so that the bolt top turns towards the drivers side. This is tightening the handbrake cord.
DO NOT DO THIS UP TOO TIGHT! If you do, the shoes or the handbrake drums may be constantly on a bit, causing braking while driving. This leads to your car stuffing up in many ways, not to mention crap power n fuel economy.
I recommend just a little past half way on the thread. You want about 4 clicks max when pulling up the handbrake.
Test it out after putting the console back together. You don't want to hear any rubbing/squeaking from the rear axle while driving.
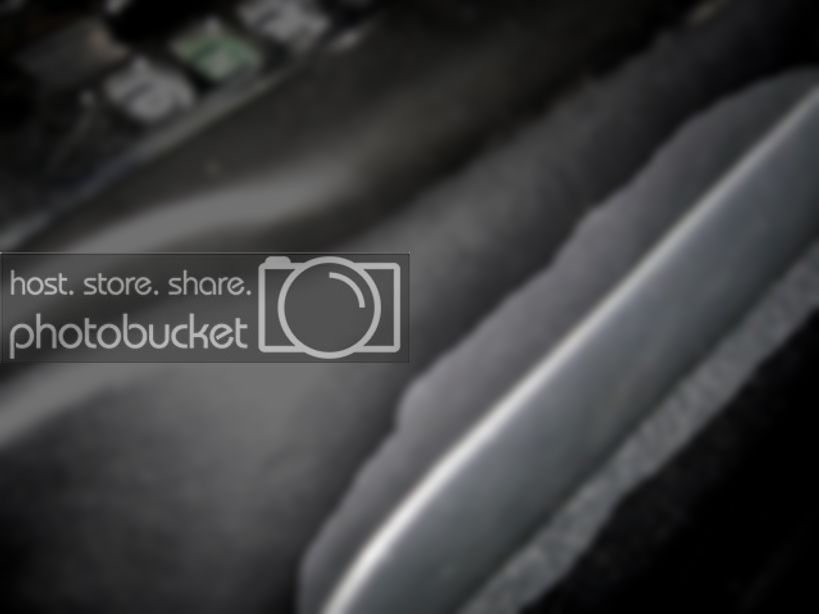
For more convenience I will also add a picture of the switch that tells the car the handbrake is on. This is the switch which lights the handbrake light on the dash and the one to bypass for some DVD players, etc, if you wish to use while driving. It is a small needle kind of thing on a spring and when the handbrake is pulled, the drum it is connected to rotates and presses the pin against the switch.
 Reply With Quote


