


You'll need: A Front Bumper/Parabolic Head Lights,/Front Reo Bar + Philips Screwdriver, Flathead Screwdriver, Socket Wrench (Socket - 10mm, 12mm, 14mm)
Difficulty: Not a lot of experience required, just time and patience. Is a 1 person job if you like it that way.
ETA: Took me about 3 hours to figure out how to get all the bolt and bits off, give yourself a fair amount of time, don't start at 8pm or anything like that.
Instructions:
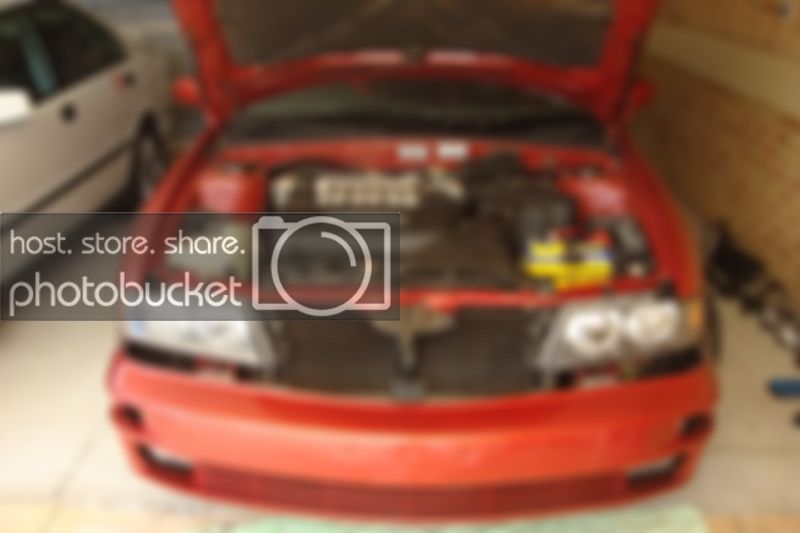
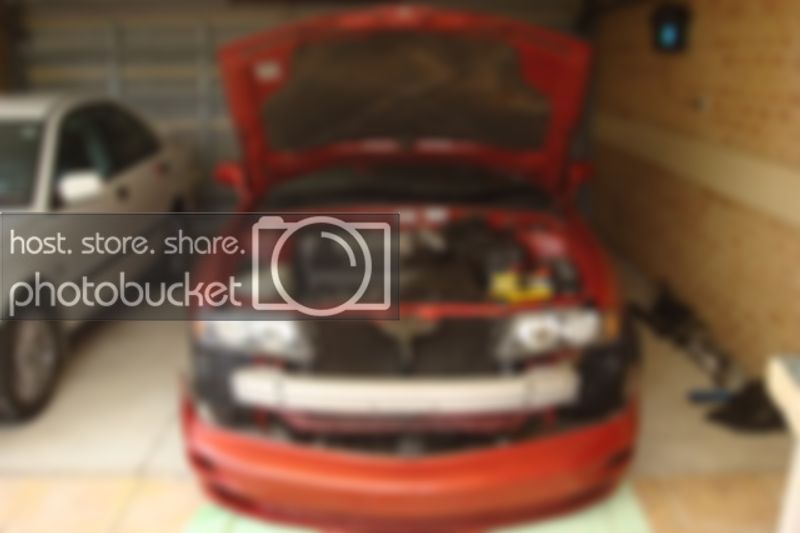
1. First things first, pop your bonnet and disconnect your battery (just to be safe, you will have to unplug lights and you don't want to blow a bulb)
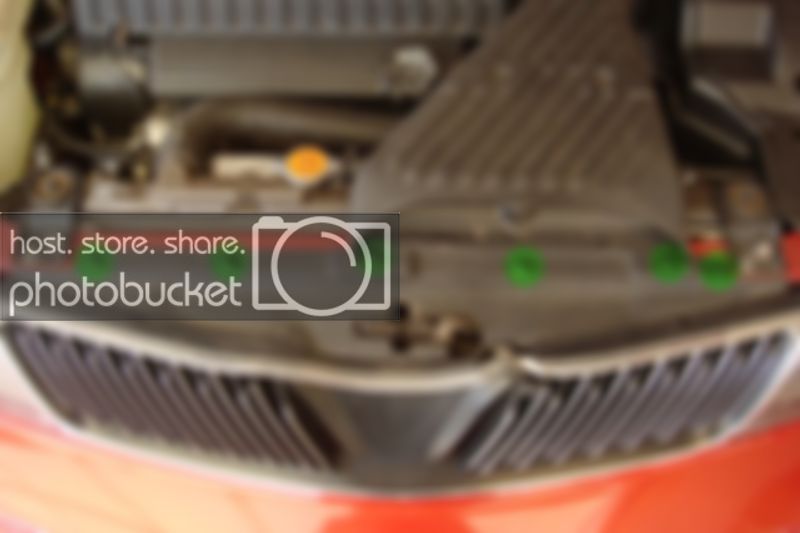
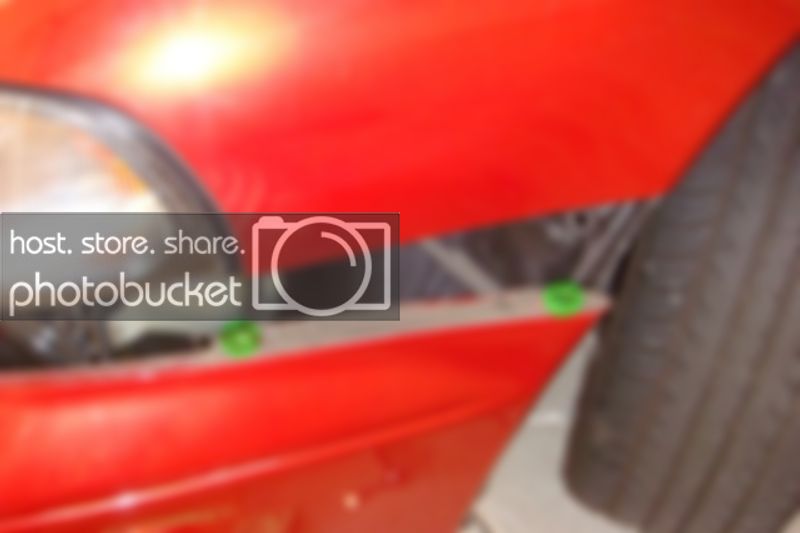
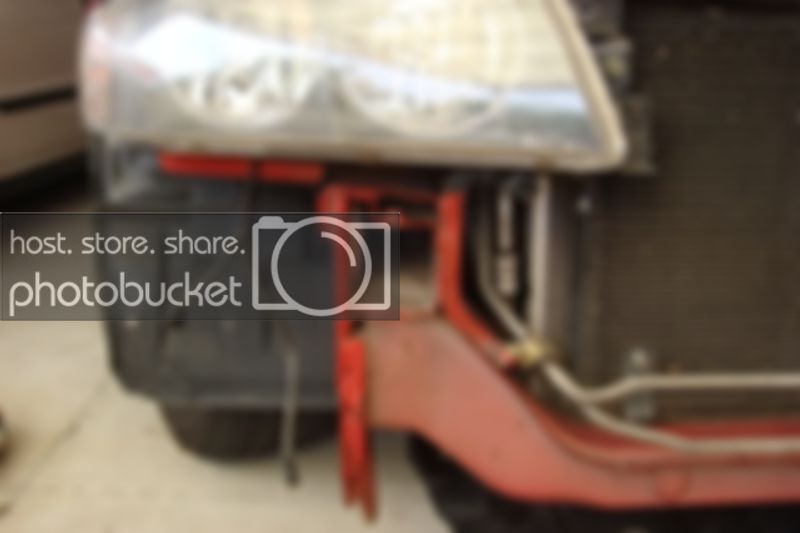
2. Your next step will be remove the small cover above the grill, mine had 6 screw holding it in.
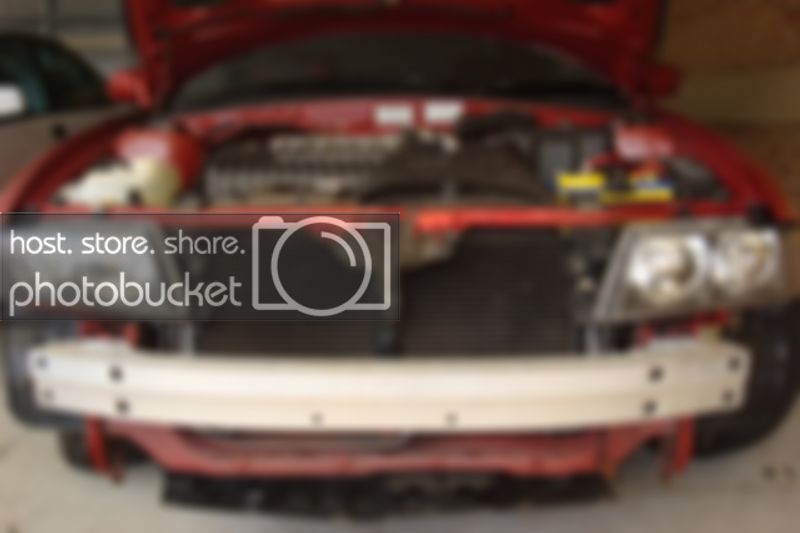
3. Remove your grill, i found this a little bit more difficult than i had been led to believe it was (maybe its because i have a Verada grill that i hold so dear, maybe not). Don't be afraid to be forceful, otherwise it will never come off.
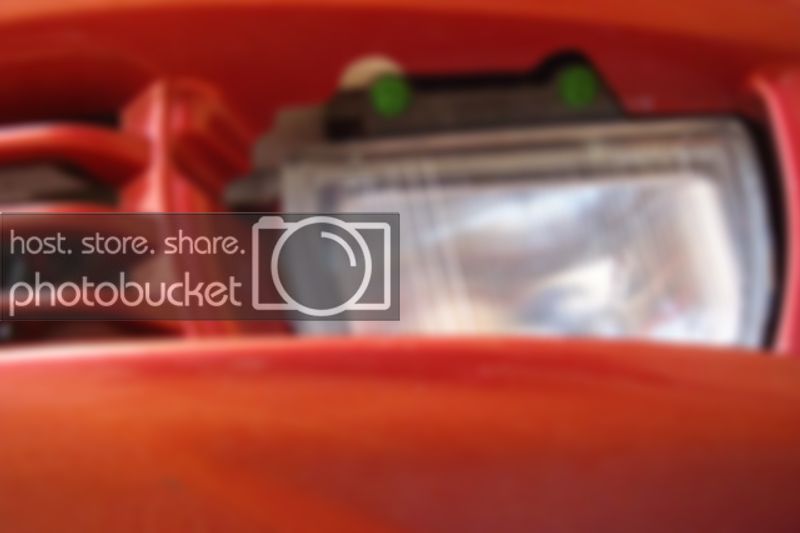
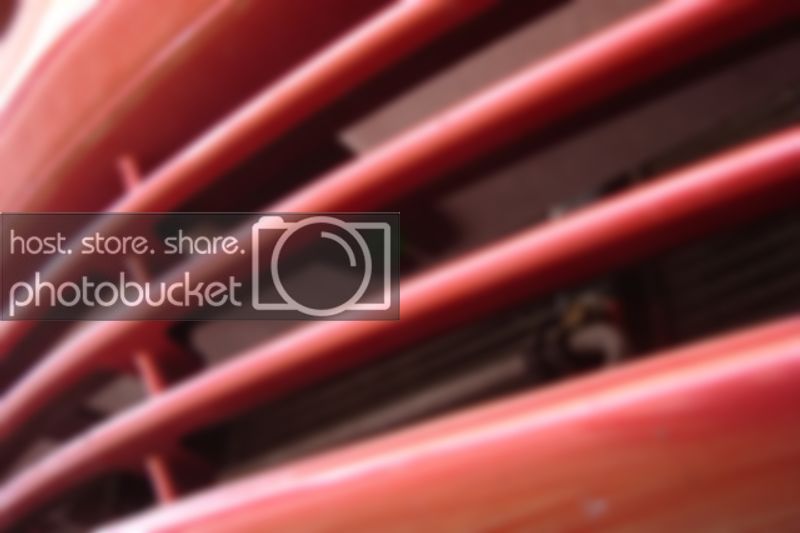
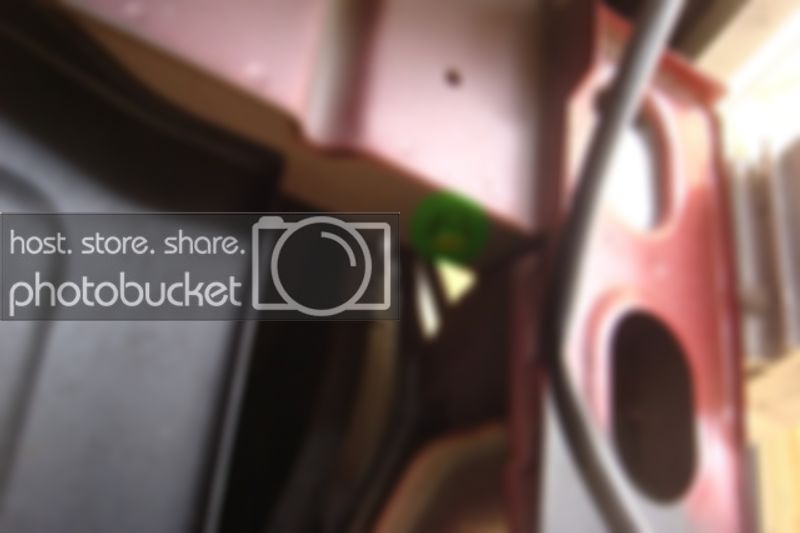
There are 6 clips holding it in place, 2 different types.
The top left and top right are attached to the grill they are fairly simple just squeeze them and they will come out.
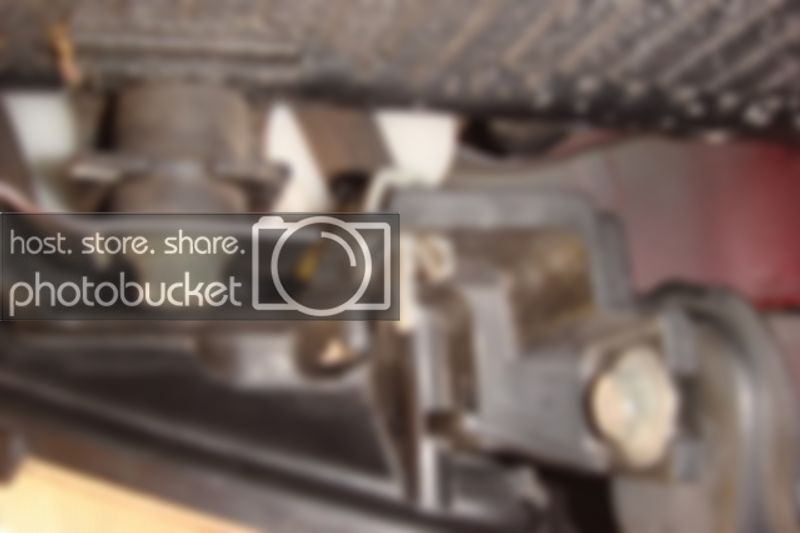
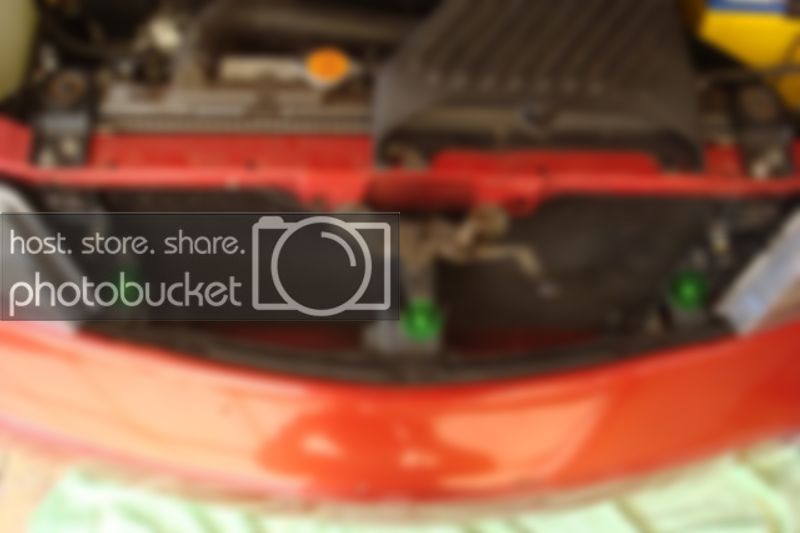
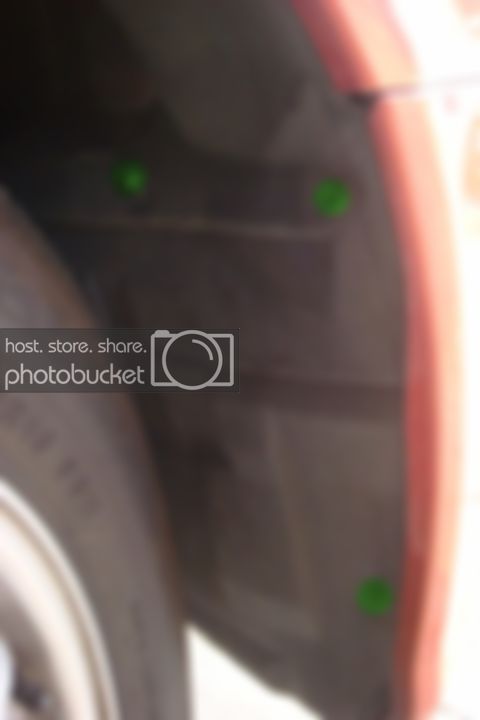
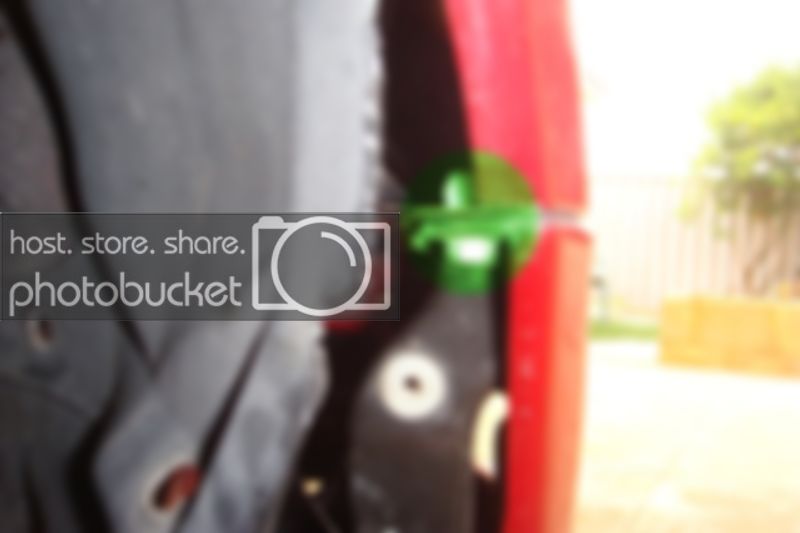
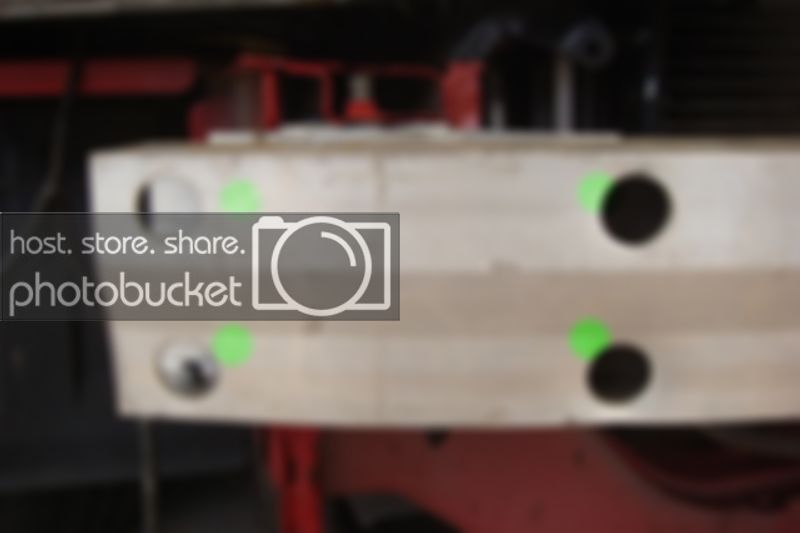
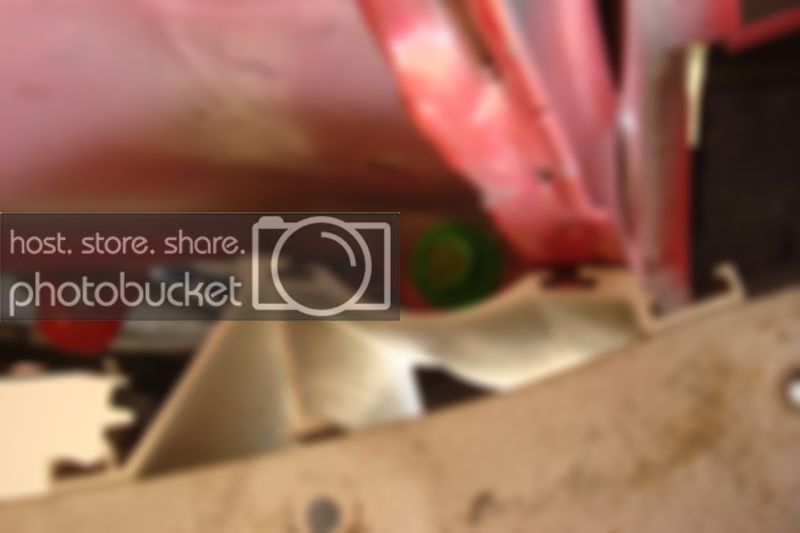
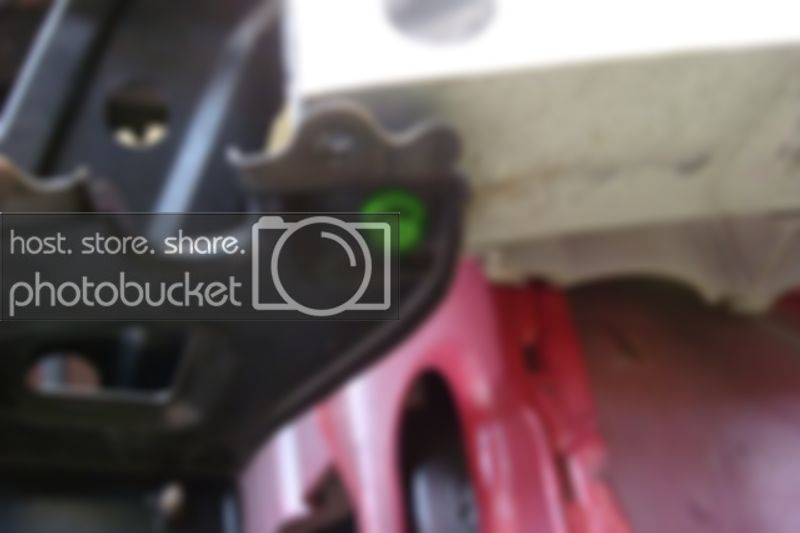
The bottom 3 and the top center one are attached to the car, they have a clip that looks like this (Plastic piece in the centre of the picture):
You have to push the center bit, either way it doesn't matter for it to allow the grill to become dislodged.

 Reply With Quote
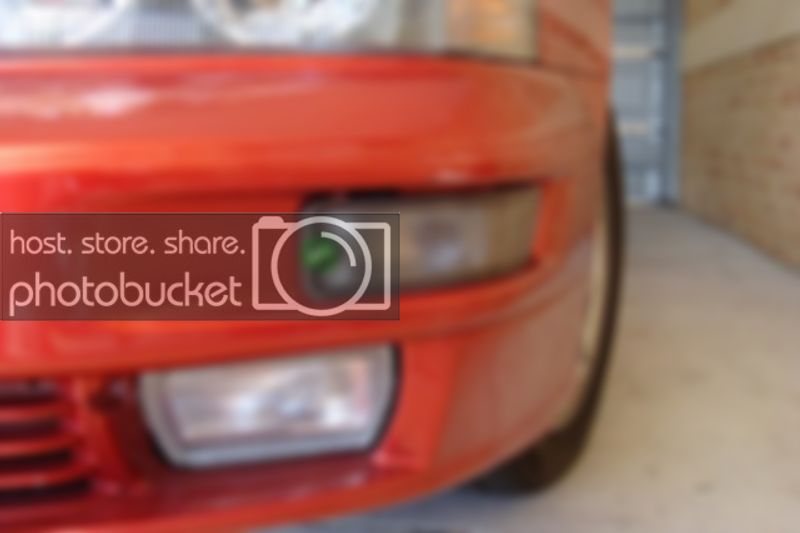

![[shhh]ayne's Avatar](IMG_42084e99.jpg?u=8953&dateline=1367812353 "[shhh]ayne's Avatar")

